Cleanup & Drying
How to Prevent Mold After Water Damage (Step by Step)
How to prevent mold after water damage: dry everything within 24-48 hours, remove wet materials, control humidity, and disinfect — per EPA, FEMA and CDC guidance.
Reviewed against current EPA, FEMA and CDC guidance.
Learning how to prevent mold after water damage comes down to one number: 24 to 48 hours. That’s the window the EPA and FEMA cite before mold begins growing on wet materials — and it’s the difference between a cleanup that ends and one that turns into a months-long remediation project. Mold prevention isn’t a single product or spray; it’s a race to get every wet thing dry and keep humidity down before spores take hold. This guide lays out exactly how to win that race, step by step, using EPA, FEMA and CDC guidance. It’s the preventive companion to our master guide on what to do when your house floods.
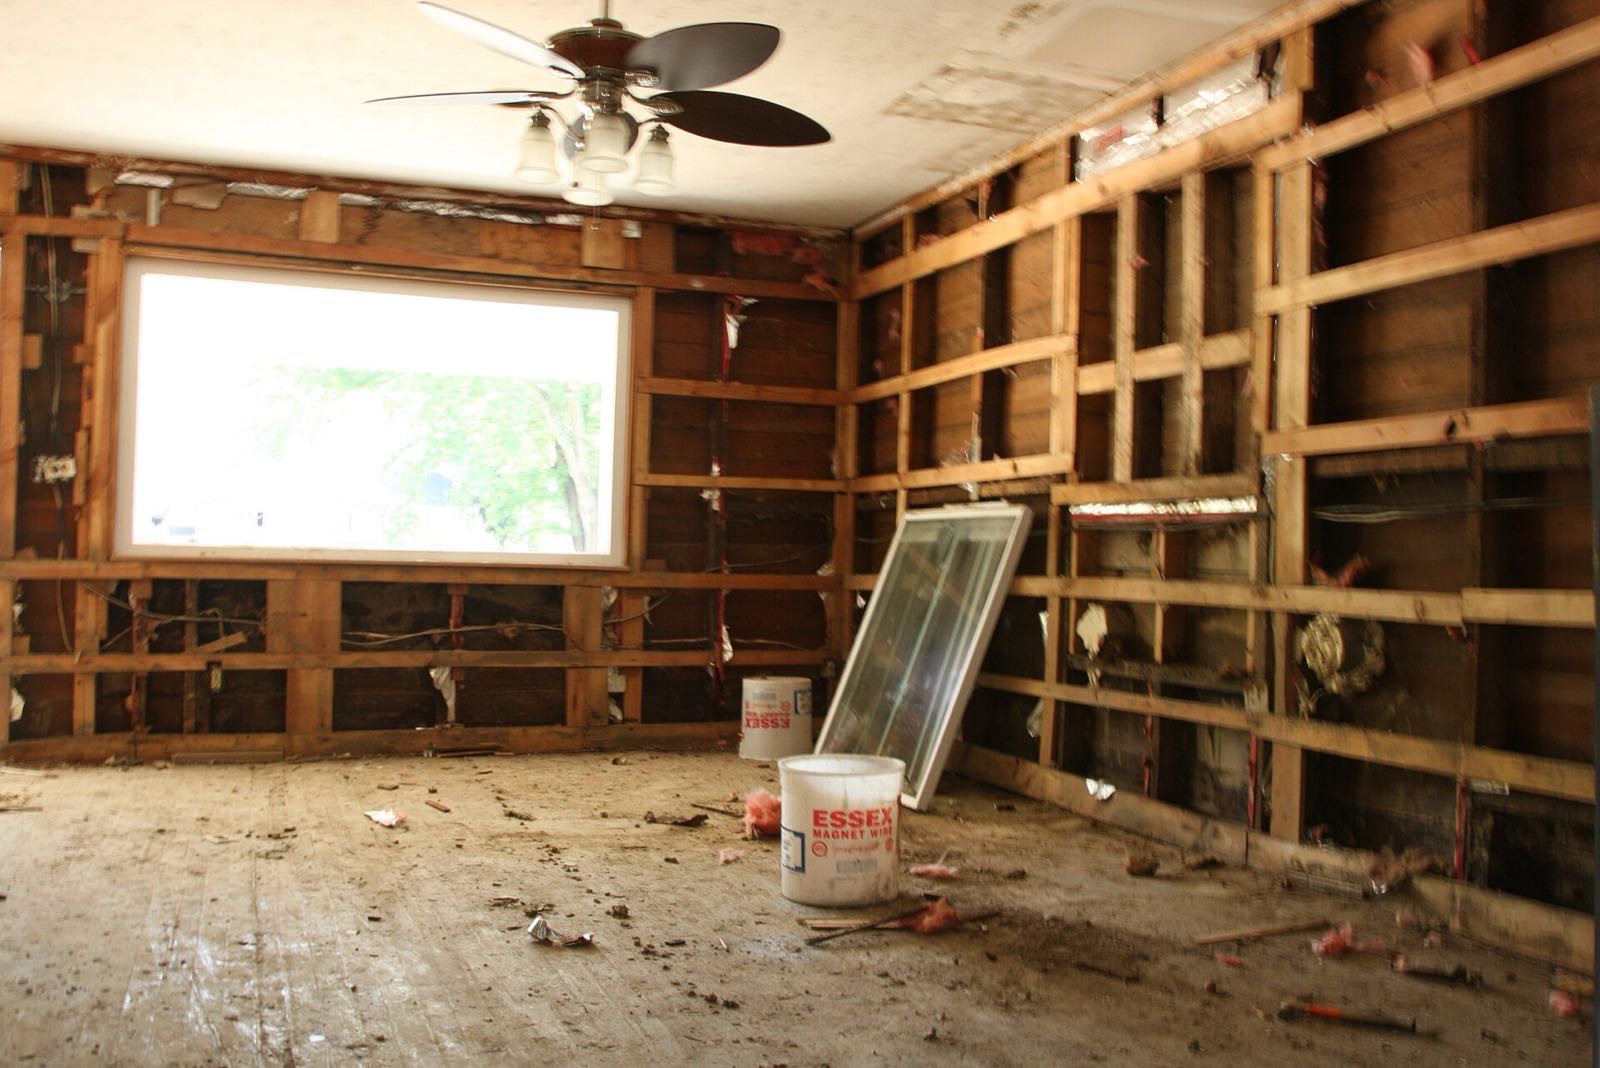
Why you have 24 to 48 hours
Mold spores are always in the air, indoors and out. They’re harmless until they find what they need to grow: moisture, a food source, and time. After water damage, your home suddenly offers all three — damp drywall, wet wood, and saturated insulation are all food for mold once they’re wet.
The EPA and FEMA are consistent that mold can begin growing within 24 to 48 hours of materials getting wet. That’s not when mold becomes visible — it’s when colonization starts. By the time you see or smell it, it’s been growing for a while. The full timeline, and what speeds it up, is in how long it takes mold to grow after water damage.
This is why prevention is almost entirely about speed. Everything below is designed to beat that clock: dry materials before spores can colonize them, and keep the air dry enough that they can’t.
Source: EPA — Mold Cleanup in Your HomeStep 1: Remove standing water immediately
You can’t dry anything that’s still sitting in water, and standing water keeps pumping humidity into the air. So before anything else, get the water out.
- Deep water: a submersible utility pump, discharging well away from the house.
- Shallow water: a wet/dry shop vacuum, emptied frequently.
- Damp floors: squeegee, mop, and towels.
Move fast — every hour water sits, it soaks deeper into materials and pushes you closer to the mold window. The full method, including how to avoid damaging walls by pumping a basement too quickly, is in how to remove standing water from your home.
Step 2: Remove wet materials that can’t be dried fast
The materials most likely to grow mold are porous ones that hold water deep inside, where you can’t dry them in time. Getting them out of the house is one of the single most effective mold-prevention moves you can make.
Remove:
- Carpet padding — it acts like a sponge and almost never dries fast enough.
- Soaked drywall and insulation — cut drywall a foot or two above the water line.
- Wet cardboard, paper, and saturated ceiling tiles.
- Upholstered furniture and mattresses soaked by contaminated water.
Every wet porous item you leave behind is both a mold reservoir and a moisture source fighting your dehumidifier. The keep-or-toss decisions for all of this are in what to throw away after a flood, and the water category that drives those calls is in the categories of water damage.
Step 3: Dry everything — fast and thoroughly
Drying is the heart of mold prevention. Mold needs moisture, so removing moisture removes the threat. Drying is evaporation, and evaporation needs two things working together: air movement and dehumidification.
- Run high-velocity fans (air movers) aimed at a shallow angle along wet walls and floors, not straight at them, so airflow sweeps the surface.
- Run dehumidifiers continuously to pull the evaporated moisture out of the air — fans alone just move damp air around.
- Open closets, cabinets, and drawers so air reaches hidden damp pockets.
- Keep equipment running 24 hours a day until materials are verified dry.
The complete drying playbook — equipment ratios, fan placement, and how long it takes — is in how to dry out a flooded house.
Source: EPA — Resources for Flood Cleanup and Indoor Air QualityStep 4: Control humidity below 50 percent
Even after standing water is gone, the air itself holds moisture that feeds mold. Controlling relative humidity is what keeps mold from getting a foothold on surfaces that aren’t visibly wet.
The EPA recommends keeping indoor humidity below 50 percent to discourage mold — and during active drying, getting it down toward 30 to 50 percent speeds everything up. A cheap hygrometer (humidity meter) lets you actually measure it instead of guessing.
Should you open the windows?
It depends entirely on the outdoor air:
- Cool, dry day: open windows and run fans to flush humid indoor air out and bring drier air in.
- Warm, humid day: keep the house closed. Opening windows pours moisture in and fights your dehumidifiers.
Check the relative humidity inside versus outside before deciding. When it’s more humid outside, let the dehumidifiers do the work in a closed space.
Step 5: Clean and disinfect hard surfaces
Once hard, non-porous surfaces that floodwater touched are dry, clean and disinfect them. This removes the surface contamination and the residue mold could feed on.
- Wash first with detergent and water to remove dirt and debris.
- Disinfect with an appropriate cleaner or a diluted bleach solution on suitable surfaces.
- Dry the surface again afterward — you’ve just added moisture.
Important: disinfecting is not a substitute for drying. The EPA is emphatic that moisture control is the key to mold control — if a material stays wet, mold comes back no matter what you sprayed on it. And bleach can’t penetrate porous materials like wood and drywall to kill mold inside them, which is exactly why those materials get removed rather than treated.
Source: CDC — Mold Cleanup After a DisasterStep 6: Find and dry hidden moisture
This is the step that separates real prevention from a job that grows mold weeks later. Water hides. It wicks into wall cavities, under flooring, behind baseboards, and into subfloors — places that look and feel dry on the surface while staying wet inside.
To prevent mold in these hidden spots:
- Remove baseboards and drill small ventilation holes at the base of wet walls so air reaches the cavity.
- Lift a corner of damaged flooring to direct air underneath.
- Pull out wet insulation inside walls rather than trying to dry it in place.
- Check behind and under built-ins, cabinets, and appliances where water pools unseen.
Hidden moisture is the number-one reason mold appears after a flood seemed handled. The complete mold story — including how to recognize it if it does appear — is in mold after water damage.
Step 7: Verify dryness — don’t guess
You cannot tell a wall is dry by touching it. Drywall, wood, and concrete feel dry on the surface while holding enough moisture inside to grow mold. The reliable method, drawn from professional water-restoration standards, uses a moisture meter:
- Take readings from materials in an unaffected, known-dry part of the home — your baseline.
- Take readings from the previously wet materials.
- The structure is dry only when the wet-area readings match the dry baseline.
Inexpensive moisture meters are sold at hardware stores. Until readings agree, keep the equipment running. Stopping early — when surfaces feel dry but materials aren’t — is the most common reason mold appears later.
A 48-hour mold-prevention checklist
Speed matters most, so here’s the whole effort in order, designed to fit inside the window:
- Make the area electrically safe before plugging anything in.
- Pump and vacuum out all standing water.
- Remove soaked padding, insulation, drywall, and cardboard.
- Set fans to sweep along wet walls and floors.
- Run dehumidifiers continuously; keep humidity under 50%.
- Open cavities, cabinets, and closets so air reaches hidden moisture.
- Clean and disinfect dried hard surfaces.
- Keep all equipment running 24 hours a day.
- Verify dryness with a moisture meter against a dry baseline.
When prevention isn’t enough — call a professional
Do-it-yourself prevention is realistic for clean water, small areas, and a fast response. Bring in a restoration professional when:
- The water was contaminated (sewage or storm floodwater).
- Multiple rooms or large areas are affected.
- Water sat beyond 48 hours before you could start drying.
- Moisture is trapped inside walls and floors you can’t reach.
- You already see or smell mold over a large area.
Professionals have commercial drying equipment and moisture-mapping tools to find and dry hidden water — the line between a sensible DIY job and one that needs help is in DIY vs. professional water cleanup.