Cleanup & Drying
How to Clean Mold After Water Damage (Step by Step)
How to clean mold after water damage: when DIY cleaning is safe, the EPA's soap-and-water method, and which moldy materials must be removed instead.
Reviewed against current EPA and CDC guidance.
Cleaning mold after water damage is safe to do yourself on small, hard, non-porous surfaces — tile, glass, sealed wood — using detergent and water, not bleach. The EPA’s threshold: patches under about 10 square feet, on water that wasn’t sewage or floodwater, are reasonable DIY jobs. Anything larger or porous should be removed, not cleaned.
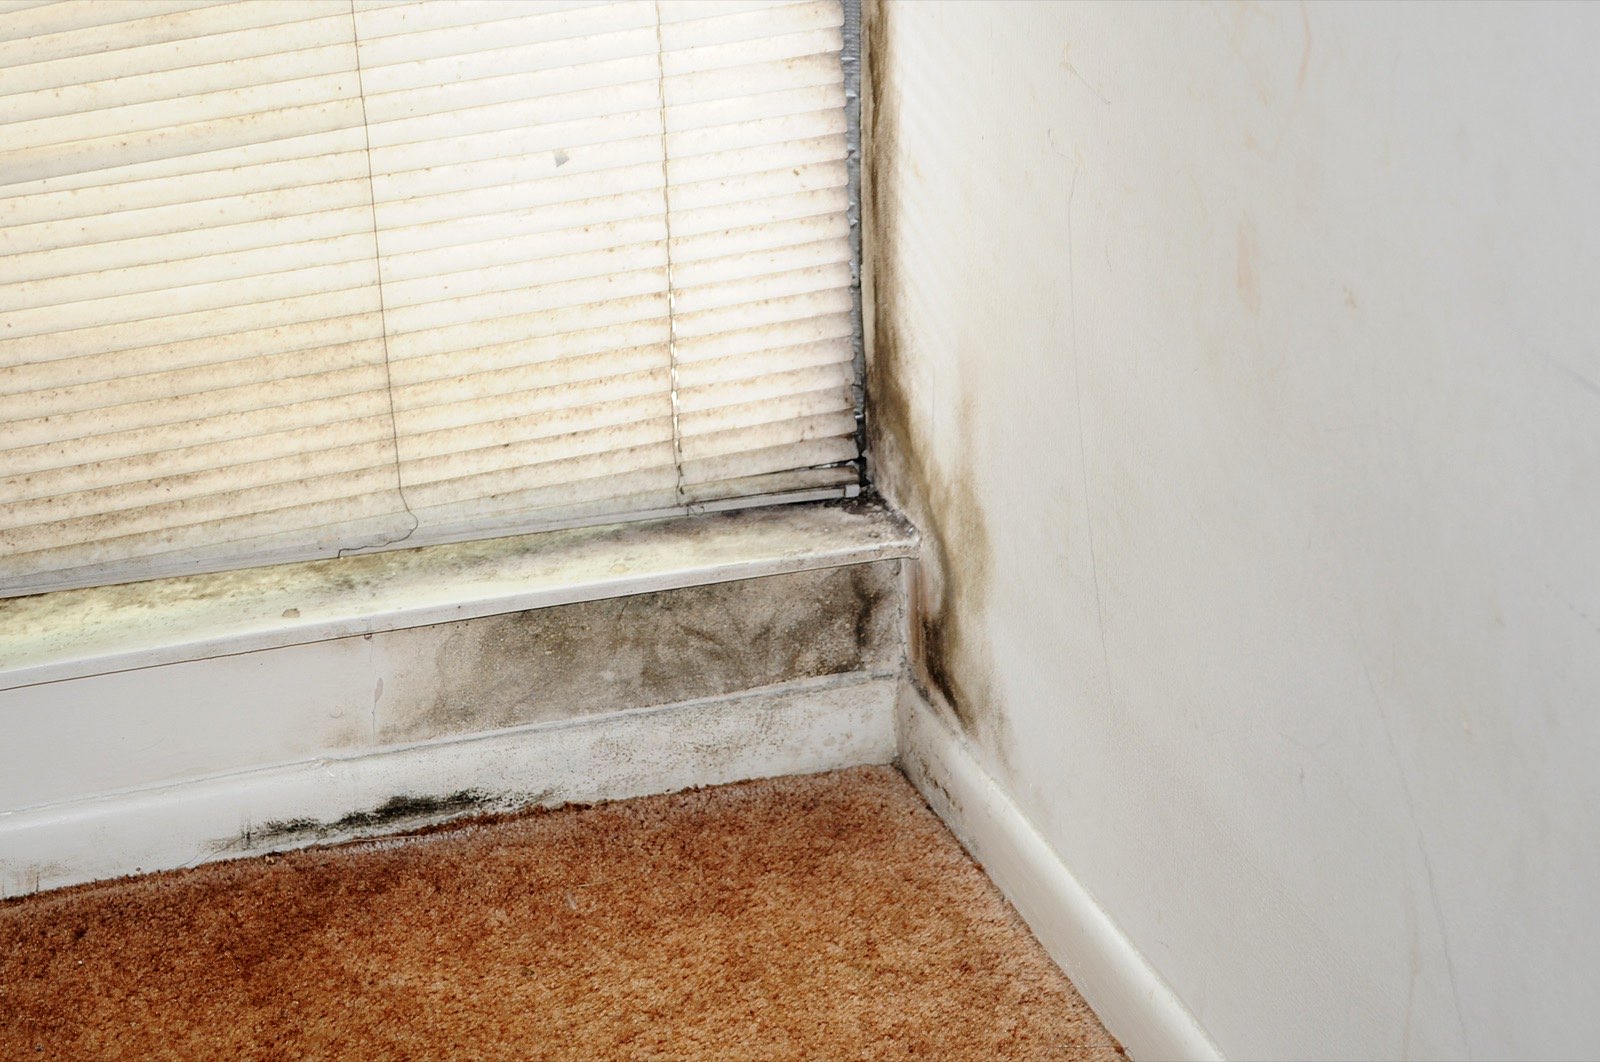
Before you touch mold: safety gear and setup
Disturbing mold, even a small patch, releases spores into the air. Set up before you scrub anything so you’re not breathing them in or spreading them to clean parts of the house.
- Respirator: an N95 at minimum; an N100 or half-face respirator is better for anything beyond a very small spot.
- Gloves: long, non-porous gloves (nitrile or rubber) past the wrist.
- Eye protection: unvented or indirectly vented goggles.
- Ventilation: exhaust air outside with a fan in a window; don’t just recirculate it through the house.
The full gear list is in protective gear for flood cleanup. Skipping this step is the most common reason a small job turns into a bigger health irritation than it needed to be.
Source: CDC — Mold Cleanup After a DisasterHow big is too big? The EPA’s 10-square-foot rule
Not every mold problem is a DIY job, and size is the first thing to check. The EPA’s published guidance draws the line at roughly 10 square feet — about a 3-by-3-foot patch. Below that, on the right kind of surface, cleaning it yourself is a reasonable weekend task. Above it, the spore load and the physical work involved shift the job toward professional remediation.
Source: EPA — Mold Cleanup in Your HomeSize isn’t the only trigger, though. Call a professional regardless of size when:
- The water that caused the mold was Category 3 — contaminated water (sewage, storm floodwater, or water that sat and turned septic). See the categories of water damage for how that classification works and why it changes the response.
- Mold is growing inside a wall cavity, HVAC system, or ductwork you can’t safely open and contain.
- Anyone in the home has a compromised immune system, chronic lung disease, or infant in the household — the health stakes are higher even for a small area.
If you haven’t confirmed mold is actually what you’re looking at, our guide to the signs of mold after water damage covers what to look, smell, and feel for before you start cleaning anything.
What you can clean yourself: hard, non-porous surfaces
Hard, non-porous materials hold mold only on the surface, not inside — which is exactly what makes them cleanable. This includes tile, glass, metal, countertops, sealed and finished wood, vinyl, and some plastics.
The EPA’s recommended method is simpler than most people expect, and it doesn’t start with bleach:
- Dry-brush or vacuum loose growth first. Use a stiff brush or, ideally, a vacuum with a HEPA filter to lift dry, loose mold before you introduce any liquid — wetting a dusty patch of mold first just smears spores around.
- Scrub with detergent and water. Ordinary dish soap or household detergent, warm water, and a scrub brush or sponge is the EPA’s core recommendation. This physically removes the mold and the organic residue it feeds on.
- Rinse the surface to clear away loosened mold and soap residue.
- Dry the surface completely. A damp surface invites mold right back — towel-dry, then run a fan across it until it’s fully dry to the touch and beyond.
- Disinfect only after cleaning, if you want to. A diluted bleach solution or an EPA-registered disinfectant can be applied to a clean, dry hard surface as an extra step — never as a substitute for the scrubbing.
What you should remove instead: porous materials
Porous and absorbent materials don’t hold mold on the surface — mold grows down into them, sending thread-like structures (hyphae) through the material itself. That’s why cleaning doesn’t work on these, no matter how hard you scrub or what you spray:
- Drywall and ceiling tiles
- Carpet and carpet padding
- Insulation
- Upholstered furniture and mattresses
- Paper products, books, and cardboard
- Unsealed or water-damaged solid wood, once mold has actually colonized it (not just gotten wet)
If any of these were growing mold — not just wet, but visibly or detectably moldy — the material needs to come out of the house, not get cleaned in place. Scrubbing the surface of moldy drywall might make it look better temporarily while leaving the colony intact just below the paper facing.
Source: EPA — A Brief Guide to Mold, Moisture and Your HomeContaining the area while you clean
Whether you’re wiping down a tile shower or pulling out a section of moldy drywall, contain the work area so spores stay put instead of spreading through the house.
- Seal doorways with plastic sheeting, taped at the edges, before disturbing any mold.
- Turn off central heating and air conditioning so the HVAC system doesn’t carry spores elsewhere.
- Exhaust air outside with a fan in a window rather than back into the house.
- Mist porous materials lightly with water before removing them — this keeps dust and spores from going airborne as you cut and pull.
This matters more for removal work than for wiping a small tiled patch, but the principle scales with the size of the job.
How to dispose of moldy materials safely
Once porous materials are out, how you carry them through the house matters almost as much as removing them.
- Bag debris before moving it — heavy-duty contractor bags, sealed with tape, while you’re still inside the containment area.
- Double-bag material that was heavily colonized or touched contaminated water.
- Carry sealed bags directly outside, avoiding travel through clean living areas.
- Wipe down anything the bags touched — floors, door frames — with detergent and water afterward.
- Check local disposal rules for large volumes of flood-damaged debris.
Skipping the bagging step is a common way spores end up tracked through hallways that were never wet in the first place.
How to confirm the cleanup worked
Cleaning mold off a hard surface is only half the job — confirming it stays gone is the other half, and it’s the step people skip.
- Verify the area is fully dry, including the material behind or beneath it. A cleaned tile wall backed by a still-damp stud cavity will grow mold again no matter how well you scrubbed the tile.
- Watch for a returning musty smell, staining, or fuzzy growth over the following several days to a week.
- Re-inspect weekly for the first month if the area was borderline in size or the moisture source is still uncertain.
If mold comes back in the same spot after a proper cleaning, that’s a signal the underlying moisture problem wasn’t actually fixed, or that the material should have been removed rather than cleaned. When you’re unsure whether testing makes sense at this stage — before cleaning, after, or not at all — the decision guide in when to test for mold walks through it.
When to stop and call a professional
Some situations call for professional remediation regardless of how confident you feel with a scrub brush:
- The moldy area is larger than about 10 square feet.
- The water source was Category 3 (contaminated) — sewage, storm floodwater, or water that sat and went septic.
- Mold is inside wall cavities, subfloors, HVAC systems, or ductwork you can’t open and contain safely.
- You’ve cleaned the same spot more than once and mold keeps coming back.
- Anyone in the home has asthma, allergies, a compromised immune system, or is very young or elderly.
- The job would require removing structural materials (framing, subfloor) rather than just surface cleaning.
Professionals bring containment, negative-air machines, and PPE rated for larger jobs — the full comparison of what a DIY cleanup can and can’t safely handle is in DIY vs. professional water cleanup.
Clean it or remove it? A material-by-material guide
| Material | Clean or remove | Why |
|---|---|---|
| Tile, glass, metal | Clean | Non-porous — mold sits only on the surface |
| Sealed, finished wood | Clean | Sealant blocks mold from penetrating the wood |
| Unsealed or damaged solid wood | Often remove | Mold can grow into exposed grain, not just the surface |
| Drywall | Remove | Gypsum core and paper facing absorb mold deep inside |
| Carpet and padding | Remove | Fibers and foam trap mold throughout, not just on top |
| Insulation | Remove | Cannot be cleaned in place; traps moisture and mold |
| Upholstery and mattresses | Remove | Porous fill absorbs mold below the surface layer |
| Paper, cardboard, books | Remove | Fully porous — mold grows through the material |