When It Floods
Water Leaking From Ceiling: What to Do Right Now
Water leaking from ceiling? Contain it, cut power to the area, relieve a bulging spot before it collapses, then trace and stop the source above.
Reviewed against current IICRC S500, EPA and American Red Cross guidance.
Water on your ceiling means water is pooling somewhere above it, and that weight is pressing down on material that isn’t built to hold it. Catch the drip, cut power to any nearby fixture, relieve a bulging spot before it collapses, then trace the leak to its source — roof, plumbing, or HVAC — so you can stop it instead of just cleaning up after it. Here’s the order that keeps you safe and limits the damage.
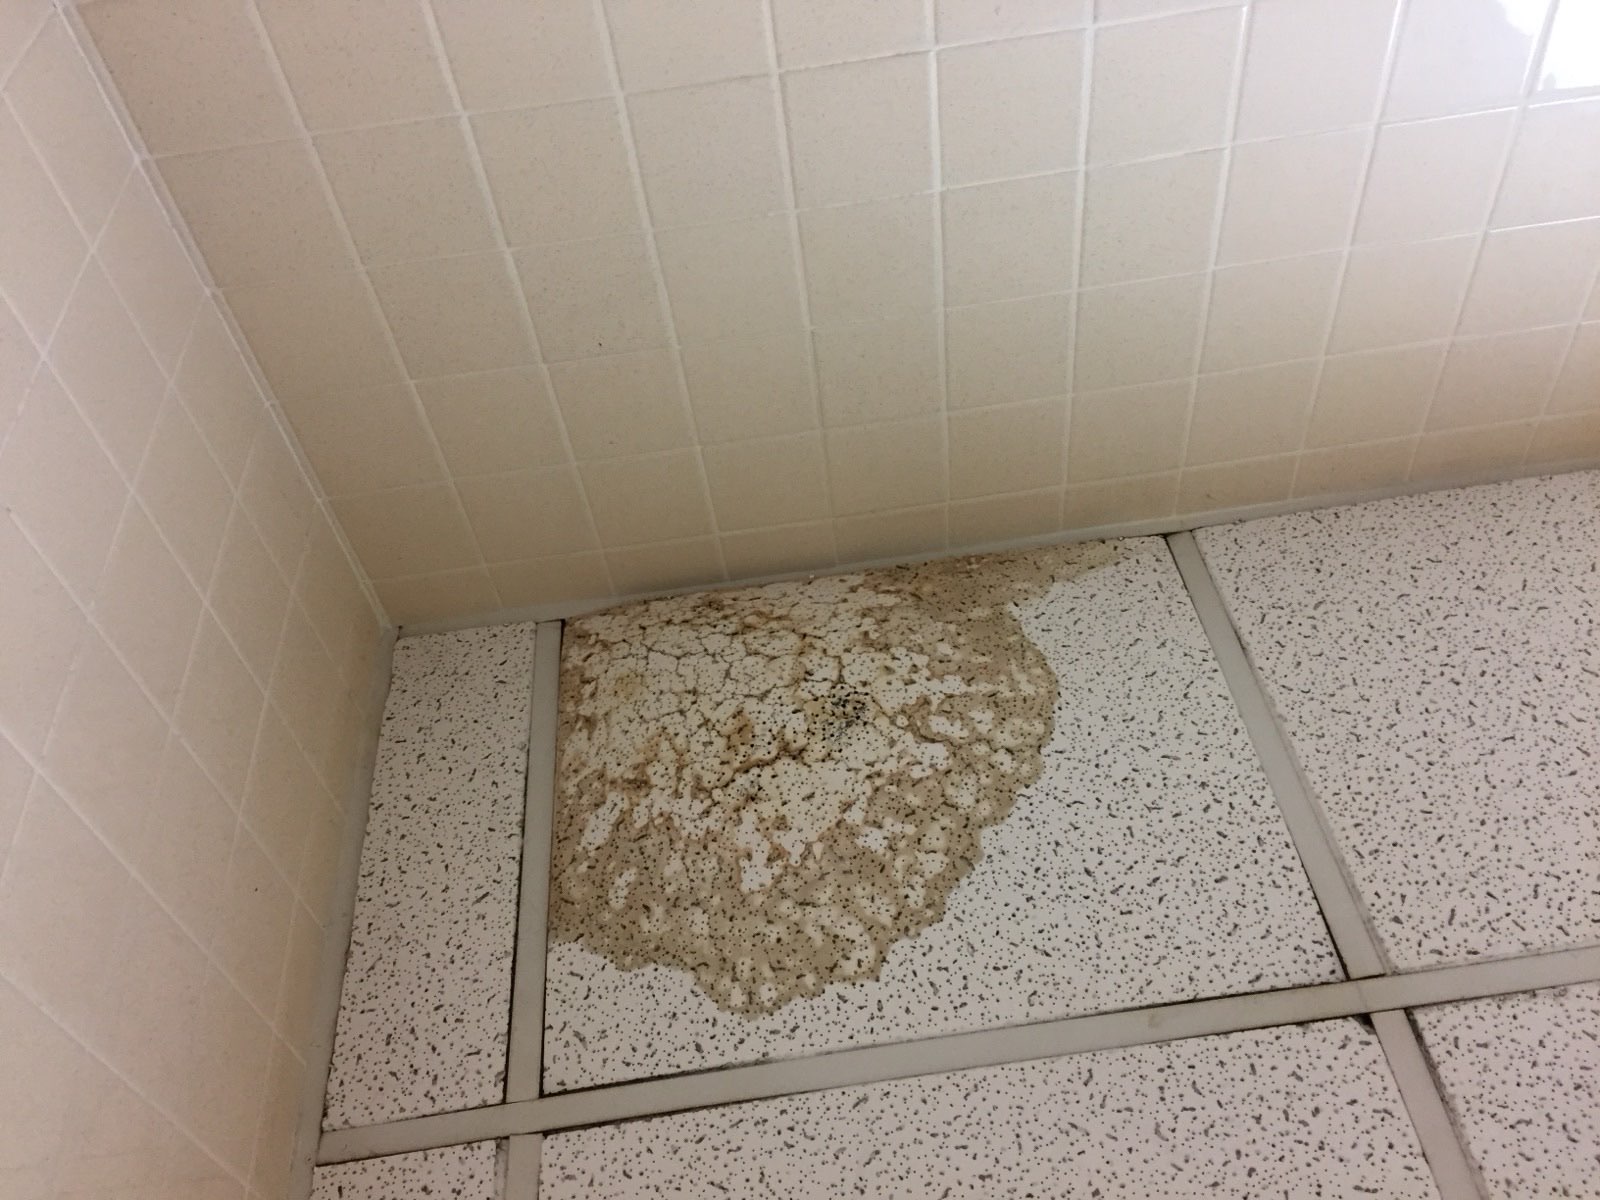
Step 1: Clear the area and catch the water
Before anything else, get people, furniture, and anything you don’t want ruined out from under the wet spot.
- Move furniture, electronics, and rugs away from directly beneath the leak.
- Set a bucket or large container under the drip to catch water instead of letting it spread across the floor.
- Lay towels around the bucket for splash and overflow.
- Keep kids and pets out of the room until you’ve assessed whether the ceiling is structurally sound.
Step 2: Cut power to anything near the leak
Water traveling through a ceiling cavity can reach wiring, light fixtures, and outlets on the wall below without you seeing it happen.
- Identify any light fixture, ceiling fan, recessed light, or outlet in or near the wet area.
- Go to your breaker panel and shut off the circuit for that room — if you’re not sure which one, shut off the main breaker rather than guess.
- Don’t turn on or touch a light switch or fixture in the affected area until it’s been inspected and dried, even after you’ve cut power, since standing water can bridge wiring in ways that aren’t obvious.
If reaching the breaker panel means walking through standing water anywhere in the house, stop and call an electrician instead — the full order of operations for shutting off power, water, and gas safely is in how to shut off utilities in an emergency.
Step 3: Relieve a bulging ceiling before it collapses
A ceiling that’s ballooning downward is holding pooled water in the cavity above it, and drywall and plaster were never designed to bear that load. Left alone, it can fail suddenly and drop wet, heavy material — and whatever’s soaked into it — straight down.
- Clear everyone and everything out from under the bulge.
- Position a bucket directly beneath the lowest point of the sag.
- Put on eye protection, then push a screwdriver or similar tool into the center of the bulge from a safe angle, standing to the side rather than directly underneath.
- Let the water drain fully through the hole into the bucket before you do anything else in that spot.
Draining a controlled hole is safer and cheaper than an uncontrolled collapse — the hole itself is a simple drywall patch later; a full collapse can mean replacing framing, insulation, and flooring below.
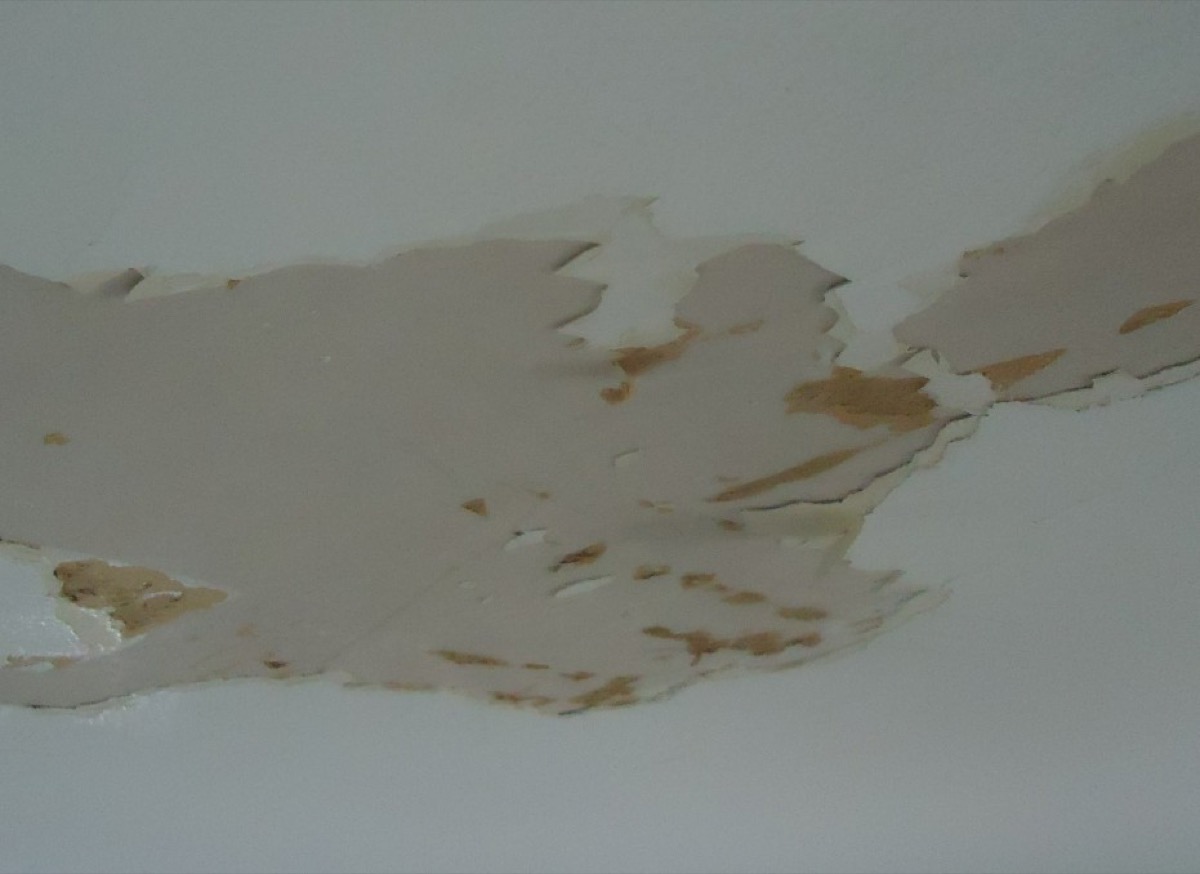
Step 4: Figure out where the water is coming from
Once the immediate danger is handled, trace the leak to its source. Where the stain sits relative to the rooms above is the fastest clue.
| What’s directly above the leak | Likely source | What to check |
|---|---|---|
| Roof / attic | Roof leak — missing shingles, damaged flashing, clogged gutter backing water up | Attic for wet insulation or daylight through the roof deck; check after the next rain |
| Bathroom, kitchen, or laundry room | Plumbing leak — supply line, drain pipe, tub/shower pan, or appliance | Run the fixture above and watch for the stain to grow or a new drip to start |
| HVAC closet or attic unit | Condensate line clogged or overflowing, or a leaking air handler | Check the condensate pan and drain line; look for water only when the AC has been running |
| No obvious room above (open ceiling to attic) | Roof leak or attic HVAC/plumbing run | Inspect the attic directly above the stain with a flashlight |
A leak that only appears during or right after rain points to the roof. A leak that shows up when someone showers, runs the dishwasher, or does laundry points to plumbing. A leak tied to the AC running points to a condensate line. Narrowing it this way tells you who to call — a roofer, a plumber, or an HVAC technician — instead of guessing.
Step 5: Document the damage for insurance
Photograph the situation before and as you clean up — you’ll want this whether or not you end up filing a claim.
- Wide shots of the ceiling, the stain or bulge, and the room below.
- Close-ups of the drain hole, any collapsed material, and damaged belongings.
- The source itself, once you find it — the roof damage, the pipe, or the HVAC unit.
- A timestamp or date note on when you first noticed it and when it worsened.
Whether the resulting damage is covered often comes down to sudden versus gradual — see does homeowners insurance cover water damage. The full documentation method is in how to document flood damage for insurance.
Step 6: Dry out the ceiling and the space below
With the water source found and stopped, dry the area fully before mold gets a foothold. Mold can begin growing within 24 to 48 hours in wet, unventilated material.
- Remove any standing water on the floor below with towels or a wet/dry vacuum.
- Run a fan aimed at the wet ceiling area and open a window or door if weather allows.
- Run a dehumidifier in the room to pull moisture out of the air.
- Check the ceiling material after 24–48 hours — if it’s still soft, spongy, or the drywall has visibly sagged or crumbled, it needs to be cut out and replaced, not just dried.
The full drying process and equipment placement is in how to dry out a flooded house, and what to do about wet drywall specifically is in wet drywall: remove or dry it out.
When to call a professional instead of handling it yourself
A ceiling leak is often DIY-manageable for the immediate response — catching water, cutting power, and relieving a bulge are all things a homeowner can safely do. But call a professional for:
- Any leak you can’t trace after checking the room above and the attic.
- A ceiling that’s collapsed or has exposed, sagging framing.
- Water near electrical fixtures that hasn’t been inspected before you restore power.
- A stain that keeps returning after you thought the source was fixed — that usually means the real source is still active or there’s a second leak.
Weighing whether to handle cleanup yourself or bring in a restoration company is covered in DIY vs. professional water cleanup.
Ceiling leak checklist at a glance
- Clear the area below the leak; set a bucket to catch the water.
- Cut power at the breaker to any nearby outlet or fixture.
- If the ceiling is bulging, drain it through a small hole from a safe angle.
- Identify what’s directly above the leak — roof, bathroom, or HVAC.
- Run the suspected fixture, or wait for rain, to confirm the source.
- Photograph the stain, the drain hole, and the source once found.
- Call a roofer, plumber, or HVAC tech to fix the actual source.
- Run a fan and dehumidifier to dry the ceiling and room below.
- Recheck after 24–48 hours; cut out and replace ceiling material that’s still soft.
- Watch for a returning stain — it means the source isn’t fully fixed.
A leaking ceiling is unsettling because the source is hidden, but the response follows the same logic as any indoor leak: protect the space below, stay safe around power, then trace and stop what’s happening above. Handle it in that order and a wet ceiling stays a repair, not a collapse.
Image credits: “Ceiling water damage” by Atomicdragon136, Wikimedia Commons, CC BY 3.0. “Ceiling sheetrock damaged by water so paint was peeling” by Tomwsulcer, Wikimedia Commons, CC0.