Insurance
How to File a Flood Insurance Claim (Step by Step)
How to file a flood insurance claim: the NFIP process step by step — notice of loss, documenting damage, the adjuster visit, Proof of Loss deadline, and payment.
Reviewed against current FEMA NFIP and FloodSmart guidance.
Knowing how to file a flood insurance claim before you’re standing in a wet house saves you money, time, and a lot of stress. Flood claims run through their own process — most often the National Flood Insurance Program (NFIP) — with specific steps and deadlines that differ from a typical homeowners claim. Miss a step or a deadline and you can leave money on the table. This guide walks through the whole process in order, from your first phone call to the final payment, including the all-important Proof of Loss, using FEMA NFIP and FloodSmart guidance. It pairs with our guide on whether homeowners insurance covers water damage.
First, know what kind of policy you have
Before anything, understand a hard truth: standard homeowners insurance does not cover flooding. Flooding — rising surface water from storms, overflowing rivers, or storm surge — is specifically excluded from homeowners policies. That coverage comes from a separate flood insurance policy, most commonly through the NFIP, sometimes through a private flood insurer.
This distinction matters from the first phone call. If your damage came from external flooding, you file under your flood policy. If it came from something like a burst pipe inside the home, that’s typically a homeowners claim instead — see burst pipe: what to do and does homeowners insurance cover water damage. When you’re unsure which applies, report it to both insurers and let them sort out the cause; the categories of water damage can help you describe the source accurately.
Source: FloodSmart (NFIP) — Start a Flood Insurance ClaimStep 1: Report the loss right away
As soon as it’s safe to do so, contact your insurance company or agent to file your notice of loss. This officially starts your claim and gets an adjuster assigned. Don’t wait until cleanup is finished — the sooner you report, the sooner the process moves.
Have this information ready when you call:
- Your policy number.
- The date the flooding occurred.
- A phone number and email where you can be reached, even if you’ve evacuated.
- A brief description of the damage.
After you report, your insurer assigns an adjuster who will contact you to arrange an inspection. Write down the names, numbers, and dates of everyone you speak with — that record is valuable if questions arise later.
Step 2: Document the damage thoroughly
This is the step that makes or breaks a claim. Document everything before you remove, repair, or discard anything. Your photos and inventory are the evidence your payout is built on.
Photograph and video everything
- Take wide shots of each affected room and close-ups of specific damage.
- Capture the high-water line on walls and furniture — it establishes how deep the flooding was.
- Photograph damaged belongings individually, including model and serial numbers where visible.
- Shoot video narrating what you’re seeing, room by room.
- Document the outside of the home and any standing water.
Build a detailed inventory
Make a room-by-room list of damaged items with:
- A description of each item.
- Approximate age and purchase price or replacement cost.
- Brand and model numbers if you have them.
- Receipts if you can find them.
The full method, including how to organize all of this so an adjuster can follow it, is in how to document flood damage for insurance. Thorough documentation is the single biggest thing you control in the outcome of your claim.
Step 3: Make only emergency repairs
You’re allowed — and expected — to take reasonable steps to prevent further damage. That includes removing standing water, drying out the structure, and covering openings against rain. These mitigation efforts protect your property and are part of acting in good faith.
What to do, and not do, in this phase:
- Do make temporary, emergency repairs (tarping a roof, boarding a broken window, pumping out water).
- Do keep receipts for everything you spend on emergency mitigation and supplies.
- Don’t make permanent repairs until the adjuster has inspected, or you’ve documented the damage thoroughly enough to support the claim.
- Do start drying quickly to limit mold — the mold clock runs regardless of insurance timelines. See how to dry out a flooded house.
Keeping receipts matters because mitigation expenses can be part of your claim, and they show you took responsible action to limit the loss.
Source: Ready.gov — FloodsStep 4: Work with the adjuster
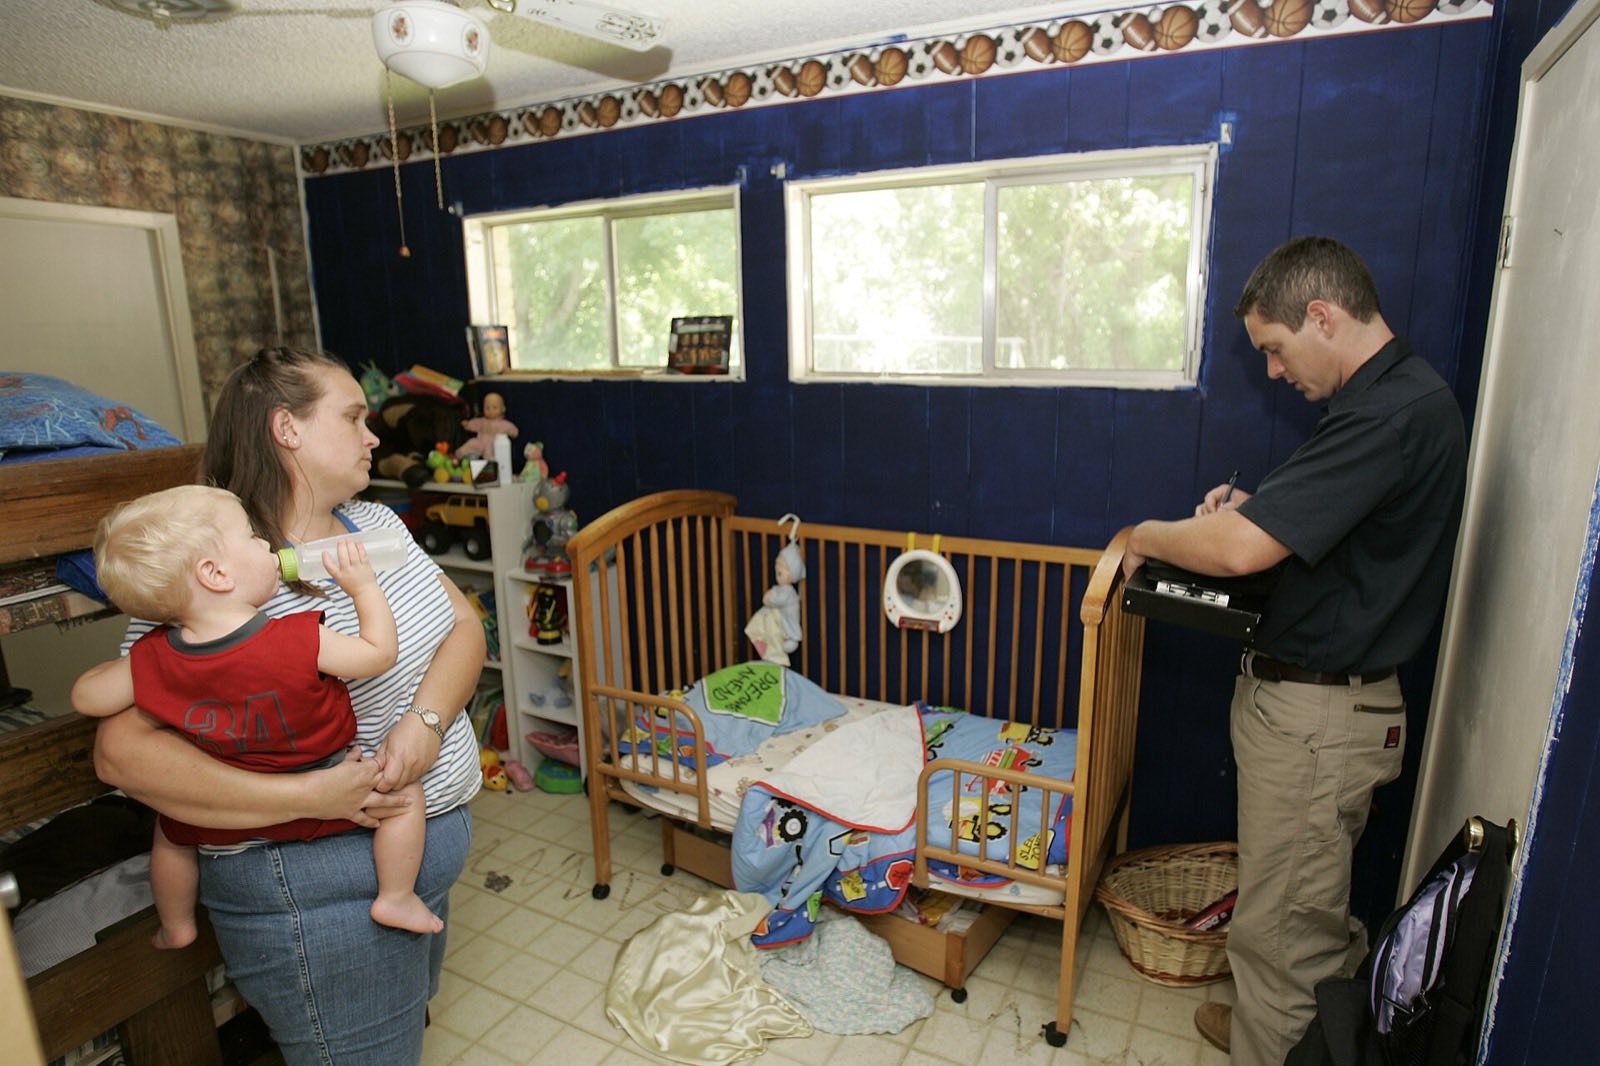
Your insurer will send an adjuster to inspect the property and help estimate the damage. The adjuster is your main point of contact for the technical side of the claim.
When the adjuster visits:
- Walk them through every affected area and point out all damage, including hidden spots like wet wall cavities and under flooring.
- Share your documentation — photos, video, and inventory — to make their job easier and your claim stronger.
- Ask questions: What’s covered? What’s the Proof of Loss deadline? What do they need from you next?
- Take notes on what they say and what they request.
The adjuster will assess the damage and help you understand what your policy covers. Remember that building coverage (the structure) and contents coverage (your belongings) are often separate, and you may need contents coverage to be reimbursed for personal property.
Step 5: Submit your Proof of Loss on time
The Proof of Loss is the formal, signed, and sworn statement of how much you’re claiming and what was damaged. It’s the document that requests payment, supported by all your evidence. This is the deadline that matters most.
Under the standard NFIP flood policy, you generally must submit a signed Proof of Loss within 60 days of the date of loss. FEMA has extended this deadline after major declared disasters, sometimes substantially — but you should never assume an extension applies. Confirm your exact deadline with your adjuster.
Your Proof of Loss package should include:
- The completed and signed Proof of Loss form.
- Your photos and video of the damage.
- Your itemized inventory of damaged contents with values.
- Repair estimates for the structure.
- Receipts for emergency repairs and replaced items.
Because you sign it under oath, accuracy is essential. Submit a complete, well-supported package on time, and keep a full copy for your records.
Source: FloodSmart (NFIP) — What's Covered by Flood InsuranceStep 6: Receive and review your payment
Once your claim is approved, the insurer issues payment based on your coverage and the documented loss. A few things to understand about how the money arrives:
- Building and contents are often paid separately, sometimes in stages.
- Your deductible is subtracted from the payout.
- If a mortgage exists, building-loss checks may be made out to you and your lender jointly, requiring your lender’s endorsement before you can use the funds for repairs.
- Advance or partial payments are sometimes available early in the process for urgent needs — ask your adjuster.
Review the settlement against your documentation. If you believe damage was missed or undervalued, you have the right to dispute or appeal — discuss it with your adjuster, supply additional documentation, and if needed, request a re-inspection. A thorough paper trail is exactly what makes a successful appeal possible.
Common flood claim mistakes to avoid
A few errors trip up homeowners repeatedly:
| Mistake | Why it hurts you | Do this instead |
|---|---|---|
| Throwing items away before documenting | No evidence of the loss | Photograph and inventory first |
| Waiting to report the loss | Slows the whole process | Call your insurer right away |
| Missing the Proof of Loss deadline | Can jeopardize payment | Track the 60-day window; ask about extensions |
| Making permanent repairs too soon | Adjuster can’t verify damage | Do emergency repairs only, keep receipts |
| Assuming homeowners covers flooding | It doesn’t | File under your flood policy |
| Not keeping receipts | Lost reimbursement | Save every receipt for repairs and replacements |
A flood claim checklist
Put the whole process in your pocket:
- Confirm whether the damage is a flood claim or a homeowners claim.
- Report the loss to your insurer as soon as it’s safe.
- Photograph and video all damage and the high-water line before touching anything.
- Build a room-by-room inventory of damaged items with values.
- Make only emergency repairs; keep all receipts.
- Walk the adjuster through every affected area and share your documentation.
- Complete and submit your signed Proof of Loss within the deadline (generally 60 days).
- Review the payment, and appeal with documentation if anything was missed.
Filing a flood claim is mostly about documentation and deadlines. The homeowners who come out best are the ones who photograph everything before they clean up, keep every receipt, and submit a complete Proof of Loss on time. When the damage is extensive or the claim gets complicated, a licensed public adjuster can help — but for most losses, careful records and prompt action are what carry the claim.