When It Floods
Water Heater Leaking or Burst: Emergency Steps
Water heater leaking or burst? Shut off power/gas and the water supply, contain the flooding, and know when it's the tank vs. a fixable part.
Reviewed against current IICRC S500, EPA and American Red Cross guidance.
A water heater tank holds 40 to 50 gallons, and if it fails completely that water empties onto your floor in minutes — with the supply line ready to keep refilling it. The moment you spot a leak, cut power or gas to the unit, close the cold-water supply valve on top of the tank, then contain and document the water before you touch anything else. This guide walks through that sequence, how to tell a fixable leak from a failed tank, and what to do next.
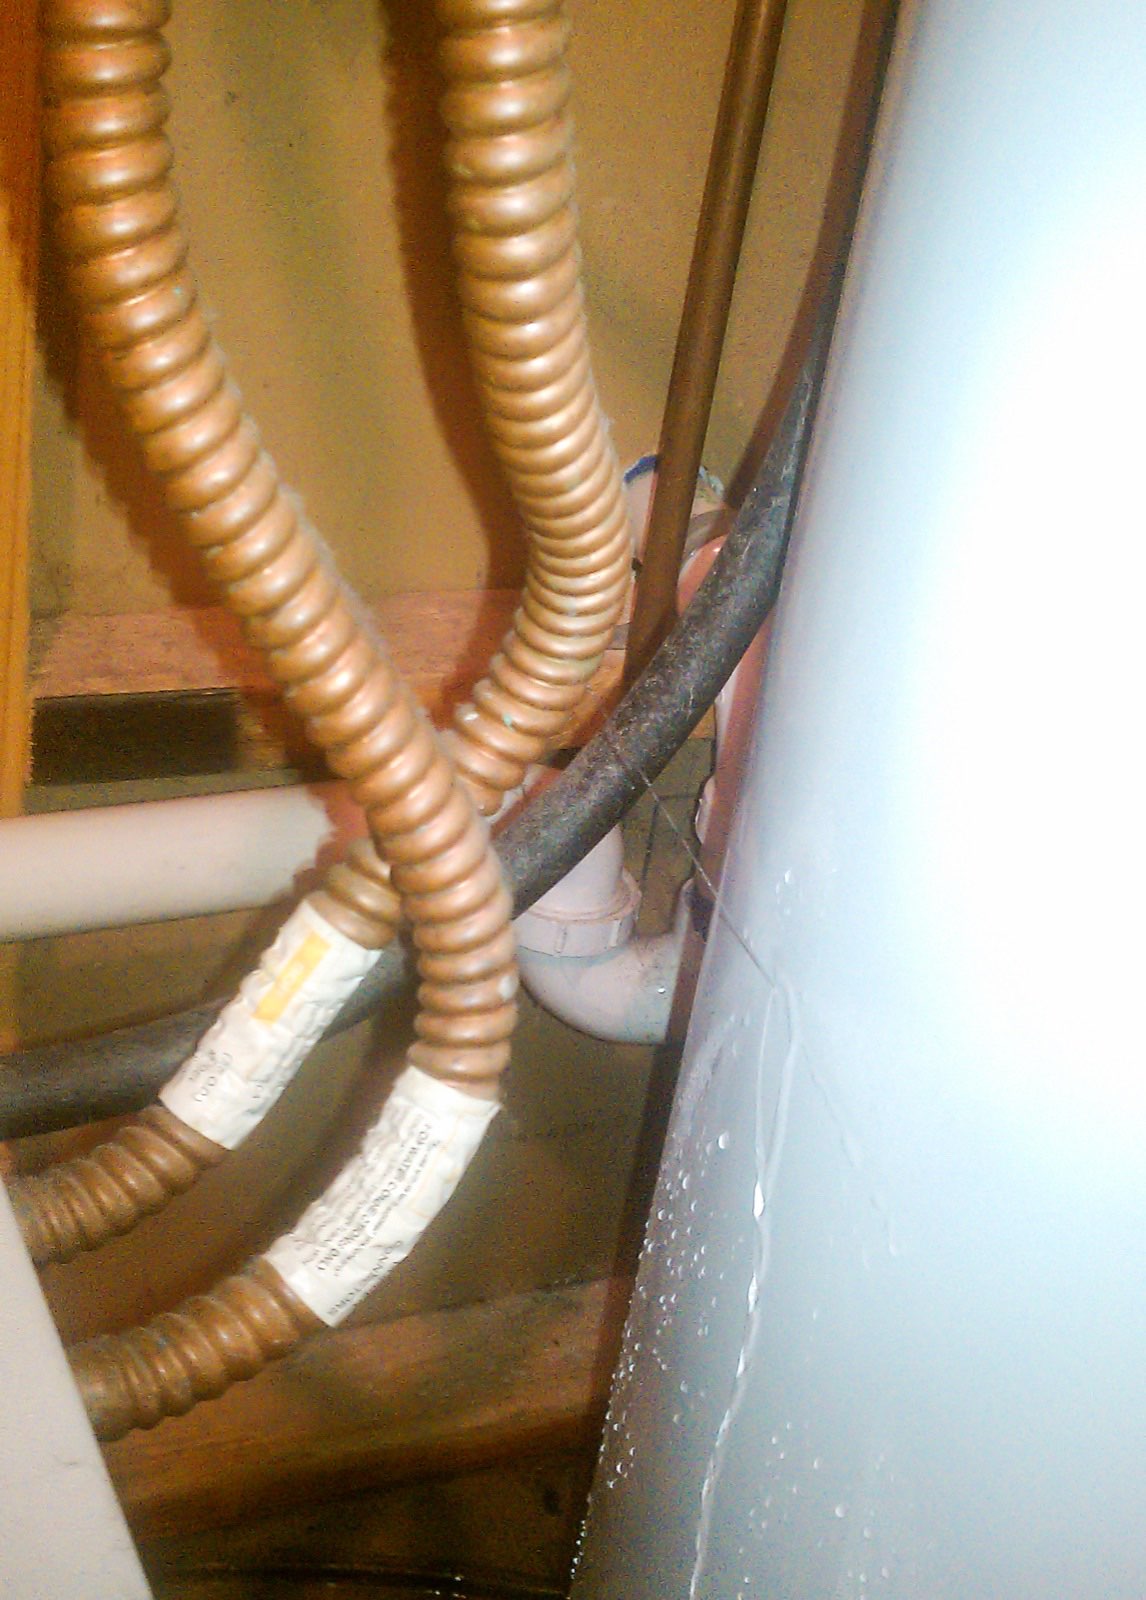
Step 1: Cut power or gas to the unit
Water and an energized appliance don’t mix, and a water heater is both a pressurized tank and a fuel-burning or electrically heated device. Before you do anything else, de-energize it.
- Electric water heater: Go to your breaker panel and flip the breaker labeled for the water heater. If you can’t identify it or the panel is anywhere near standing water, don’t guess — shut off the main breaker instead, following the same rule as any flood: never touch a panel you’d have to enter water to reach.
- Gas water heater: Turn the gas control valve on the front of the unit to “off.” Do not turn it back on yourself once it’s been shut down — a gas water heater’s pilot needs to be relit correctly, and that’s a job for a technician if you’re at all unsure.
Step 2: Close the cold-water supply valve
Cutting power stops the heating, but it doesn’t stop the water. A tank keeps refilling from the supply line as it drains, so closing that valve is what actually stops the flooding.
- Find the cold-water shut-off on the pipe entering the top of the tank — it’s usually a round handwheel or a lever handle just above the unit.
- Turn it clockwise (handwheel) or a quarter turn crosswise to the pipe (lever) until it stops.
- If that valve is stuck, corroded, or you can’t reach it safely, close your home’s main water shut-off valve instead — the same one you’d use for any burst pipe.
Once the supply is closed, open a nearby faucet briefly to relieve pressure in the line and confirm the flow has actually stopped.
Step 3: Contain the water and protect what’s nearby
With power and water both off, you can deal with what’s already on the floor without adding to the damage.
- Soak up standing water with towels and a wet/dry vacuum before it spreads to drywall, subfloor, or a finished space nearby.
- Move stored items off the floor — water heaters are often in closets, garages, and basements packed with boxes, and cardboard wicks water fast.
- Check the drip pan, if the unit has one. A drip pan under the tank is designed to catch small leaks and route them to a floor drain — if yours overflowed, the leak is larger than the pan and drain line were built to handle.
- Look one level down. If the water heater is on an upper floor or over a finished basement, check the ceiling below for staining or dripping.
Is the leak fixable, or has the tank failed?
Not every water heater leak means a new water heater. Where the water is coming from tells you a lot.
| Leak location | Likely cause | Usually fixable? |
|---|---|---|
| Top fittings / supply lines | Loose connection, worn washer | Yes — often a simple repair |
| Temperature-and-pressure (T&P) relief valve | Worn valve, excess pressure, expired valve | Yes — valve replacement |
| Drain valve at the bottom | Loose or worn valve, not fully closed | Yes — valve replacement or tightening |
| Tank body / seams / rust holes | Internal corrosion, tank failure | No — tank must be replaced |
| Bottom of the unit, no clear source | Often internal corrosion reaching the surface | Usually no — inspect for tank failure |
If the water is tracing back to a fitting, the T&P valve, or the drain valve, a plumber can often fix it without replacing the whole unit. If it’s coming from the tank itself — through a seam, a pinhole, or generally weeping from the bottom with no other source — the tank has failed internally and needs to be replaced, ideally within days rather than left to fail completely overnight.
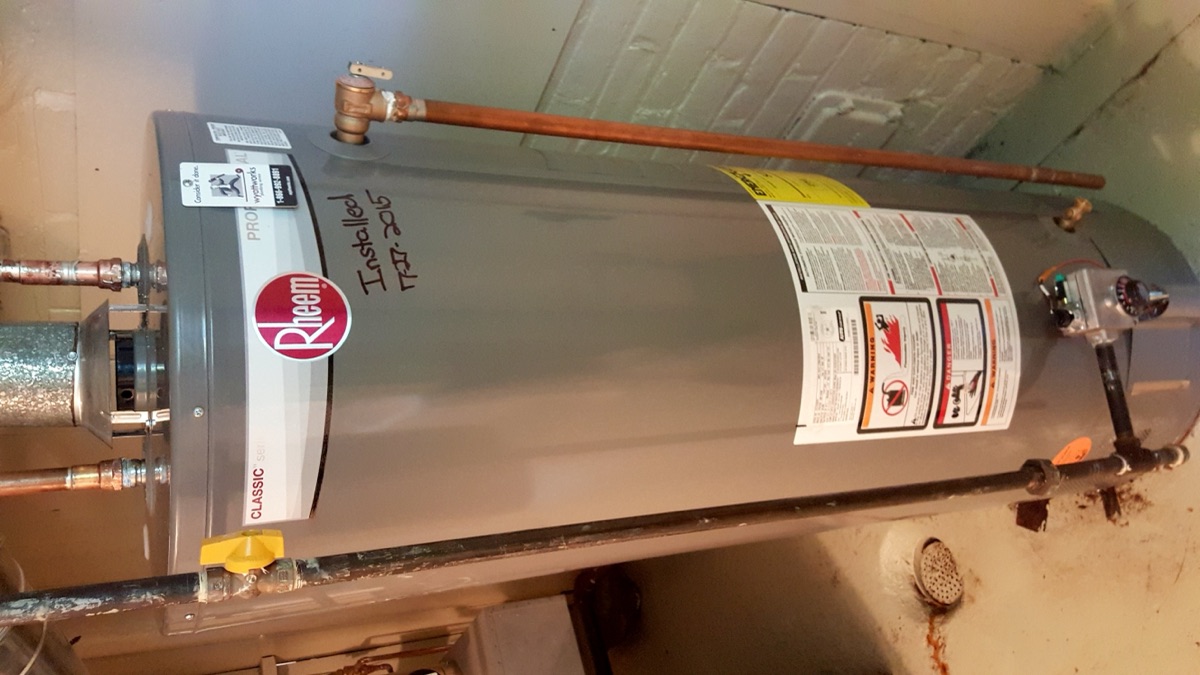
Step 4: Document the damage for insurance
Before you clean up further, document what happened while the evidence is still there.
- Photograph the water heater itself — the leak location, the age/model sticker, and the surrounding damage.
- Wide shots of every affected area, including the drip pan and anything one level below.
- Note the age of the unit from the manufacture date on the label; insurers often ask.
- Keep the plumber’s invoice and any receipts for towels, a wet/dry vac, or emergency repairs.
The full method is in how to document flood damage for insurance. Whether the resulting water damage is covered — and how a gradual leak differs from a sudden burst — is covered in does homeowners insurance cover water damage.
Source: American Red Cross — Flood SafetyStep 5: Dry out the area before mold gets a head start
Water heaters usually sit in closets, utility rooms, garages, or basements — tight spaces with poor airflow, which is exactly where mold takes hold fastest. Mold can begin growing within 24 to 48 hours of a wet, unventilated space staying wet.
- Remove any standing water with a wet/dry vacuum.
- Pull soaked cardboard, insulation, or stored items out of the space entirely.
- Run a fan to move air through the closet or utility area, and prop the door open.
- Check the subfloor and adjacent wall base for moisture with a moisture meter if you have one, or by feel after 24 hours.
The full drying process is in how to dry out a flooded house, and why speed matters is covered in how long mold takes to grow after water damage.
Source: EPA — Mold Cleanup in Your HomePreventing the next water heater leak
A little maintenance catches most failures before they become floods:
- Flush the tank annually to clear sediment buildup, which accelerates corrosion at the bottom of the tank.
- Test the T&P relief valve once a year by lifting its lever briefly — it should release water and reseat cleanly.
- Watch the age. Most tanks last 8–12 years; budget for replacement as you approach that range rather than waiting for a failure.
- Install or maintain a drip pan with a working drain line if your unit sits above living space or on an upper floor.
- Check the area around the unit periodically for early signs of rust, corrosion, or a damp floor.
Water heater leak checklist at a glance
- Cut power at the breaker, or turn the gas control to “off.”
- Close the cold-water supply valve on top of the tank (clockwise or quarter-turn).
- If that valve won’t close, shut the home’s main water valve instead.
- Soak up standing water; move stored items off the floor.
- Check for damage one level below the unit.
- Photograph the unit, the leak location, and all affected areas.
- Identify the leak source — fitting/valve (fixable) vs. tank body (replace).
- Call a plumber; keep the invoice for your insurance claim.
- Run a fan and dry the space fully within 24–48 hours.
- Flush the tank yearly and test the T&P valve to prevent the next leak.
A leaking or burst water heater is unsettling, but it follows the same logic as any indoor water emergency: stop the source, stay safe around power and gas, then dry out before mold gets a foothold. Handle it in that order and a scary morning stays a manageable one.
Image credits: “Water Heater Leak” by Tony Webster, Wikimedia Commons, CC BY 2.0. “Rheem home gas water heater tank – newly installed” by Tim Evanson, Wikimedia Commons, CC BY-SA 2.0.